

Being developer is like living on a tangent; always scared from slipping off. No matter how much effort you employ, there’s still a fine line between client satisfaction and efforts.
Code is like humor. When you have to explain it, it’s bad. – Cory House
Pacing back-forth within infinite loops of pending tasks, bundles of maintenance issues, trying level best but still lacking to meet client’s expectations.
Do such issues relate to you?
If yes, surely you are missing the sole process and resources for your WooCommerce Store Development. Trust me, that’s normal. Numerous WooCommerce developers face such issues but are still busy targeting their goals with the wrong weapon.
So, what are you waiting for?
Refer our WooCommerce Developer Handbook to sneak-peek above the boundaries and experience how WooExperts develop professional WooCommerce stores within no time utilizing the resource sets efficiently.
How Would You Proceed With Your Development Here….
Step: 1 Create First What You Can
Step: 2 Test And Experiment With A Free-Hand
Let’s start with the basic process flow.
A typical WooCommerce Website Development project covers almost in four steps –
- The initial build phase i.e. Create
- The custom experiment phase i.e. Test
- The feature add-on phase i.e. Upgrade
- The troubleshooting phase i.e. Fix
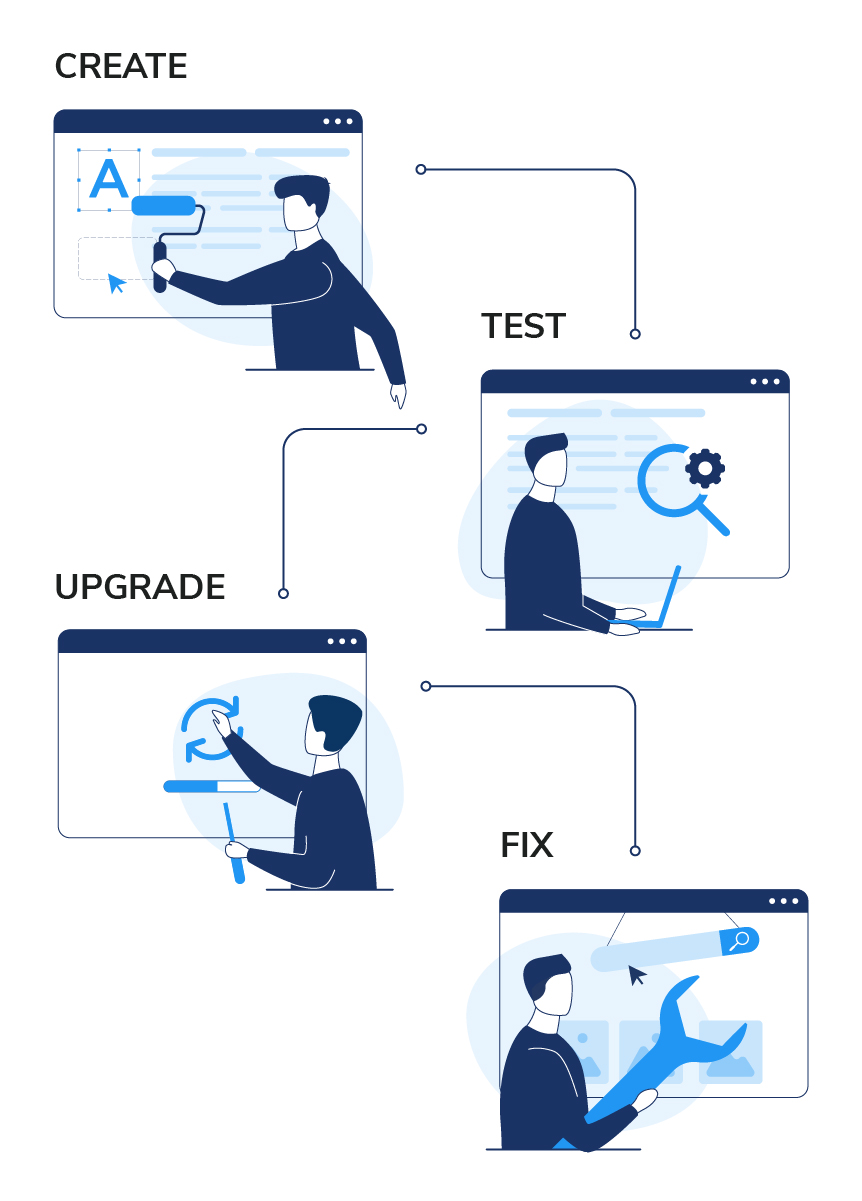
I hope above image roughly clarifies the intention here. Let’s get-set-go in deep with the steps.
Step: 1 Create First What You Can
WooCommerce development is easy and flexible, it just requires streamlined processing and task scheduling to efficiently build a strong base. Often WooCommerce developers overlook the initial setup and face major issues later.
In this WooCommerce Developer Handbook, we would guide you step by step making sure that no nook is left for mishaps. Let’s start then.
1.1 Setup Services
Basic Installation Process
Installation and setup of a WooCommerce store include setting up WordPress environment at your local server. If you’re done with that already; you can easily follow up further with us (i.e. WooCommerce Developer Handbook) rather hop on the official WordPress Setup Guide.
After that, just switch to your plugins tab traversing on your WordPress Dashboard section i.e. Dashboard > Plugins > Add New
For instance, you can also refer to the screenshots given below-
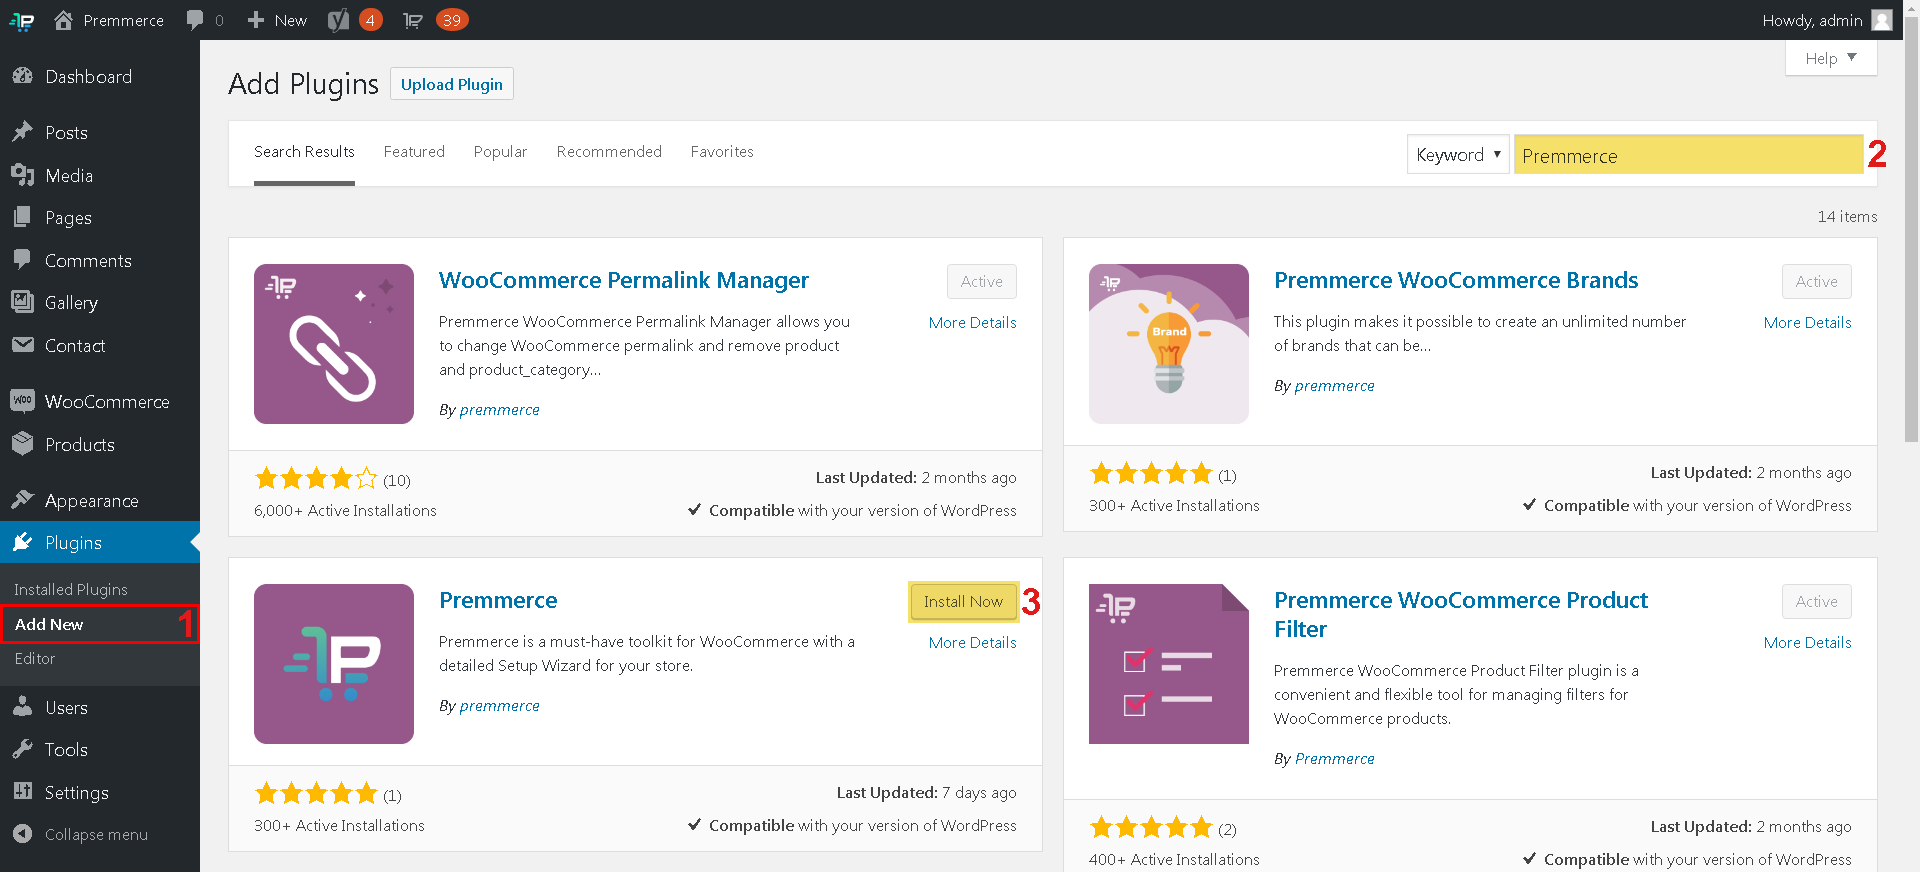
You can easily choose the WooCommerce plugin just by searching, installing, and activating it afterward.
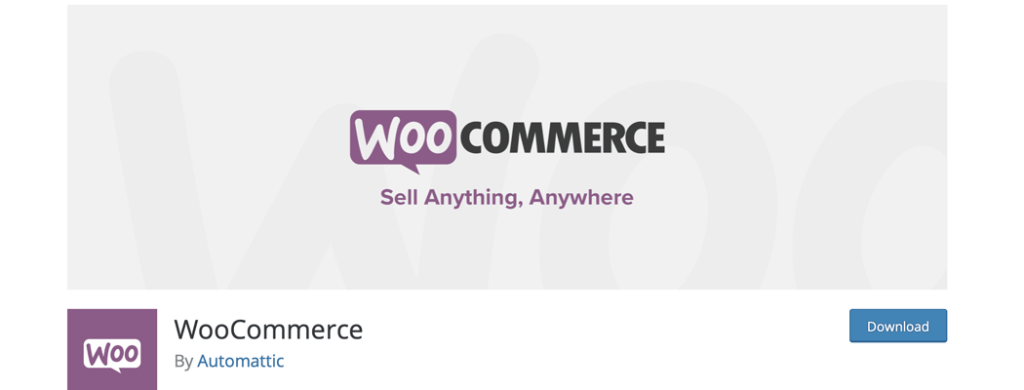
After installing; you’re now all set to build your store on WooCommerce. Just follow the documentation for basic store setup and launch.

The screenshot given below would help you understand the basic WooCommerce store installation better.
The further step includes store display customization. You can easily perform that traversing on your Appearance tab through your Dashboard and start personalizing your store with ease.
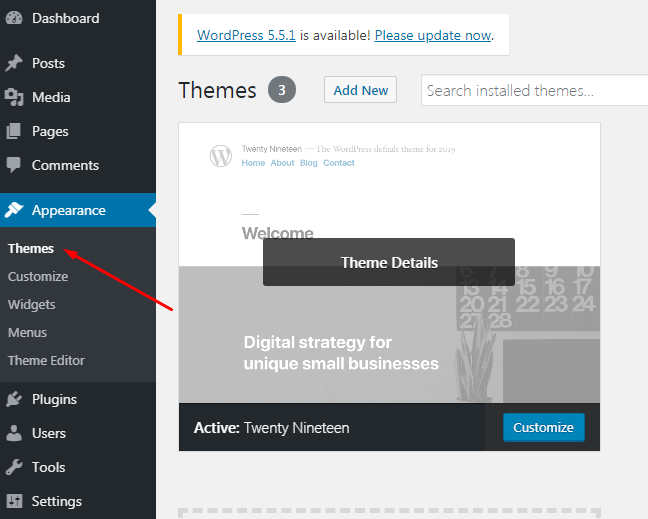
This tab includes almost all display customization for your store; just choose and customize. Adding a unique name, logo image, store favicon, color palette, menus, widgets, etc. can easily be performed by accessing this tab.
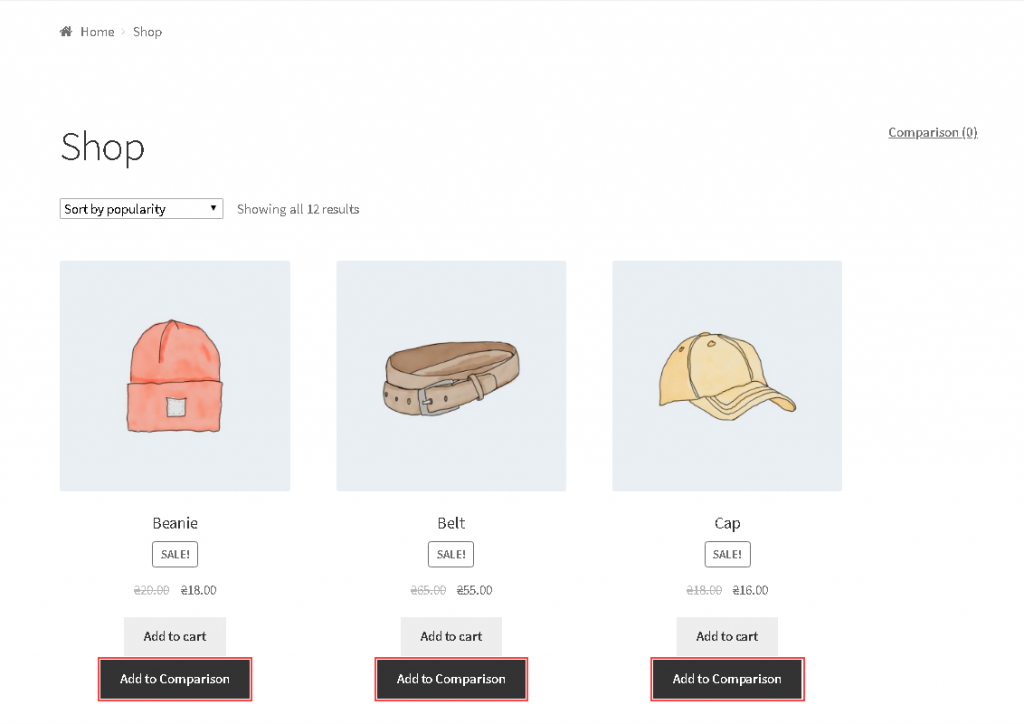
After that, you can preview your demo store page and start adding products along with the feature. If you already have a product base on internet or over any other website, then you can just import products from there.
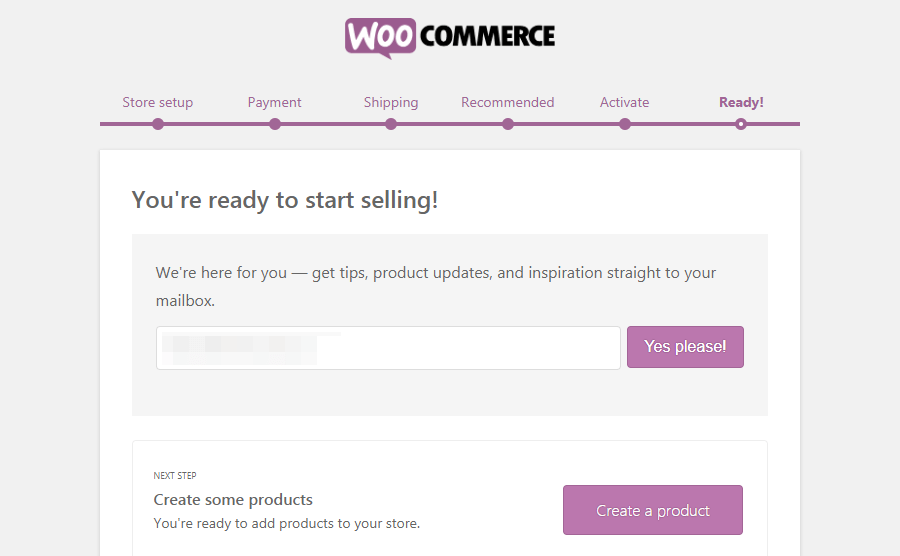
Setting a payment method and pages for checkout, policy, etc. completes your basic setup for a WooCommerce store.
You can also explore your WooCommerce Plugin tab to be more clear about other settings and features.
After you’re done with all this; your store is ready to launch according to our WooCommerce developer handbook, which somewhat looks similar to the screenshot given below-
Stuck In WordPress Development Complexities?
Your initial setup and installation on the WooCommerce store are performed well. This depicts that you are all eligible for the very next step, let’s dive in then.
1.2 Website Space Designing Services
The design of your store is already done, although it is still the basic one. You can easily modify or upgrade your basic WooCommerce store to add a creative tinge and make it more appealing and attractive.
WordPress offers multiple themes and plugins to enhance the functionality of your typical WooCommerce store. You can apply them with all ease as per your required specifications.
WordPress Theme Directory
Your WooCommerce store looks good with a starter theme but can be way more attractive and appealing just by employing additional themes. The theme adds a creative tinge to your simple and basic website design.
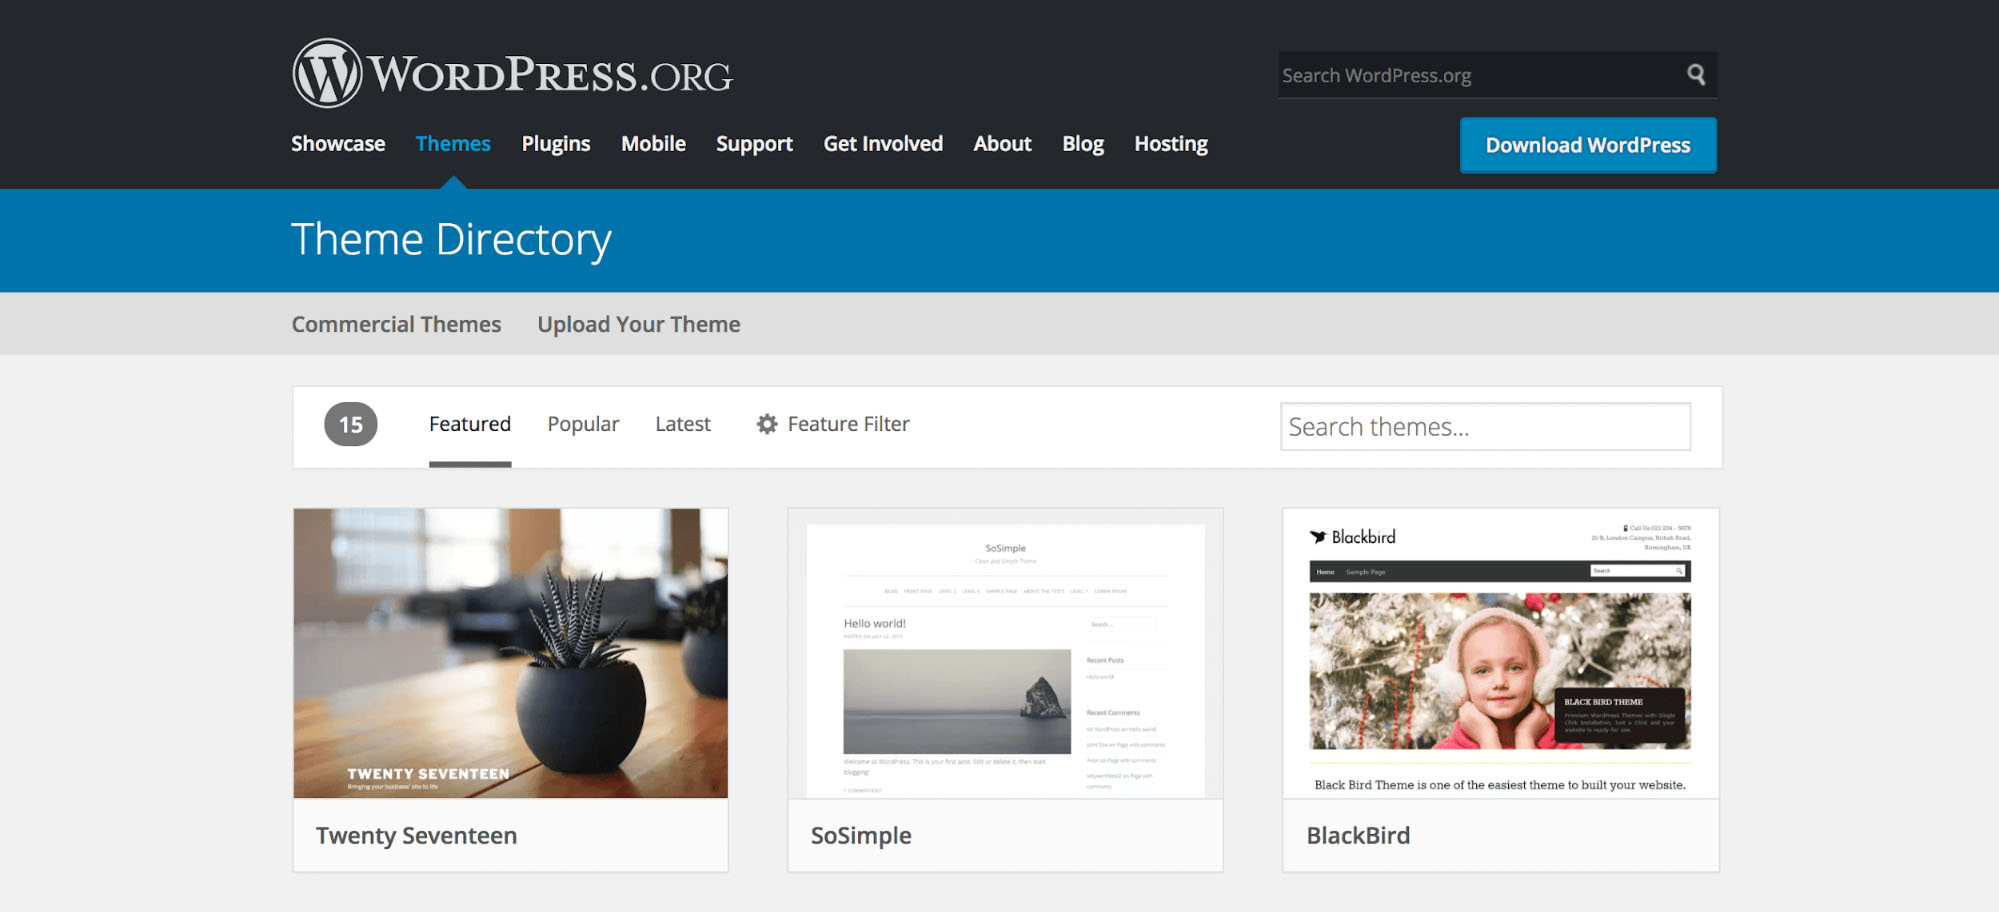
You can easily opt for themes depending on your choice and specifications for free or on premium from the very own WordPress Theme Directory. There are multiple theme options available and many lovable alternatives to the default ones just choose and install the theme that best fits your store’s persona.
Your WooCommerce site supposed to sell products online; that would be more functional if you opt for a theme that is related to your industry. In other words, make sure that your theme matches your buyer persona.
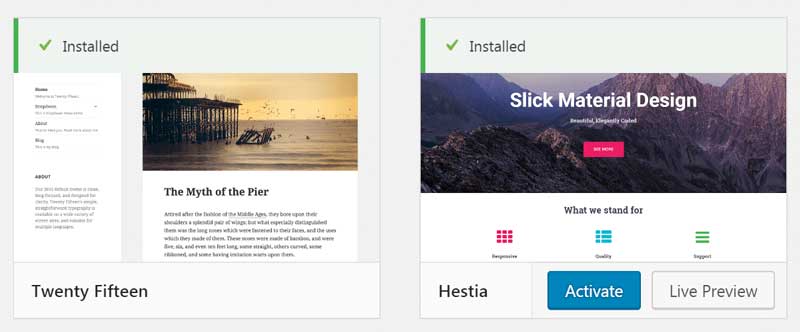
After installing the theme, don’t forget to activate the theme to append its features within your WooCommerce site.
Please note that if you have previously performed any changes within the existing theme, they might be lost replacing other themes. For better practice, have a preview beforehand or clone your site to roll back the changes lost.
WooCommerce Custom Designing Resources
If you want to customize your themes on your own or build new ones from scratch; congratulations, you can do that here (WooCommerce Developer Handbook).
Before jumping into it panicky, it is important to understand how the WordPress template hierarchy actually works?
The WordPress system helps you in maintaining an organized structure with ease. Before initiating the development on track, make sure you know well what actually all the theme template files are for, what are their actual purpose, and on what hierarchy they’re to be prioritized upon.
There are many ways in which you can design your custom website theme for your store, we (WooCommerce Developer Handbook) have stated a few below-
Child Theme Development
Custom theme development can easily be performed using the child theme functionality of WordPress. Child Themes are nothing new, they are just the customized versions of your existing theme.
The sole benefit of employing child theme functionality for customizing your existing theme lies in its rollback and version control features. Mostly observed that, developers randomly opt any theme and start editing it. This practice is fine but can lead to complexities later.
Whereas, child themes can thereby help you in rolling back with ease, taking your existing theme as a backup. You can easily control the version updations if your opted theme is updated within time, preventing the data loss involved.
Getting Started With Child Themes Requires Few Preparations-
- Setting a backup of your existing website
- Installing and getting started with an SFTP (Secure File Transfer Protocol) solution beforehand
For a better instance, you can refer to the screencasts listed.
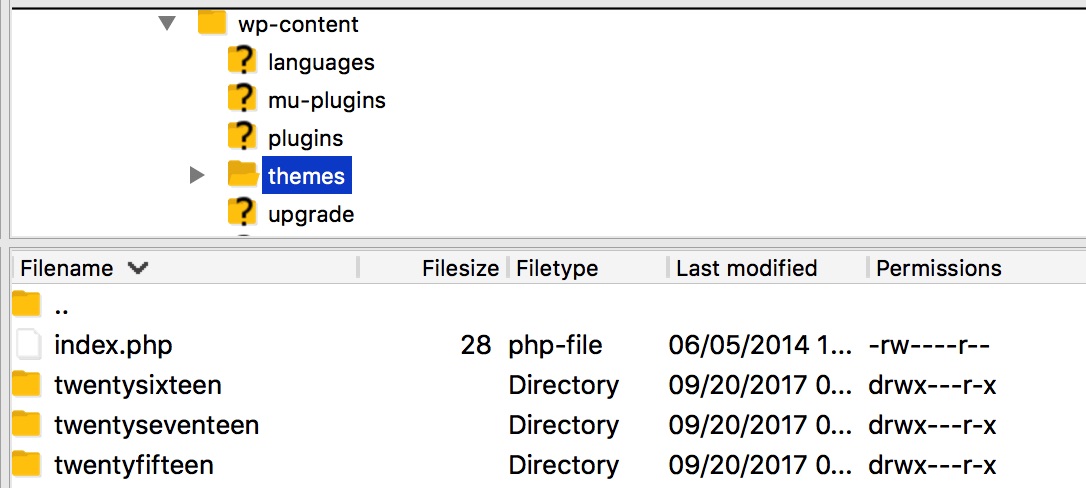
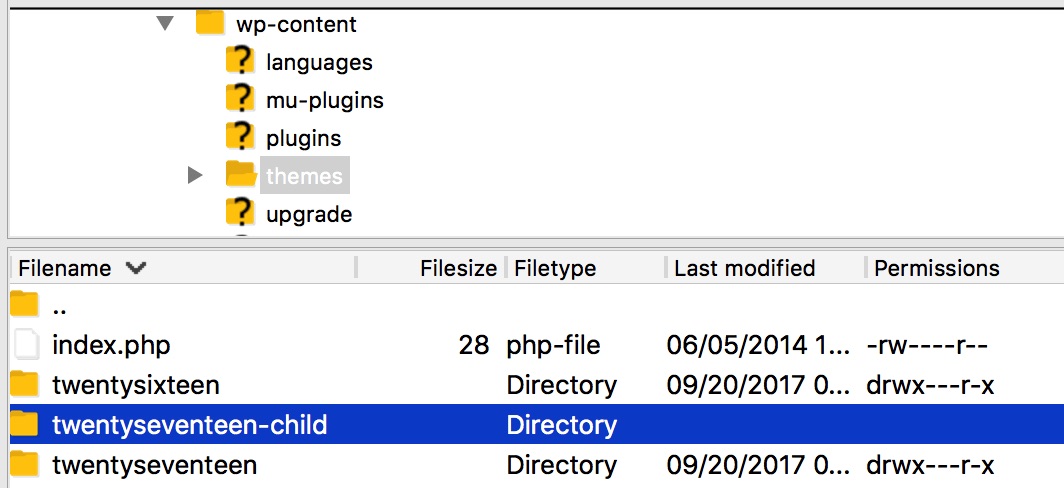
Firstly, clone your existing theme within the folder themes and rename it with the suffix -child, for a better naming convention to identify easily.
After that, generate a new stylesheet for custom style code snippets, within the child theme folder.
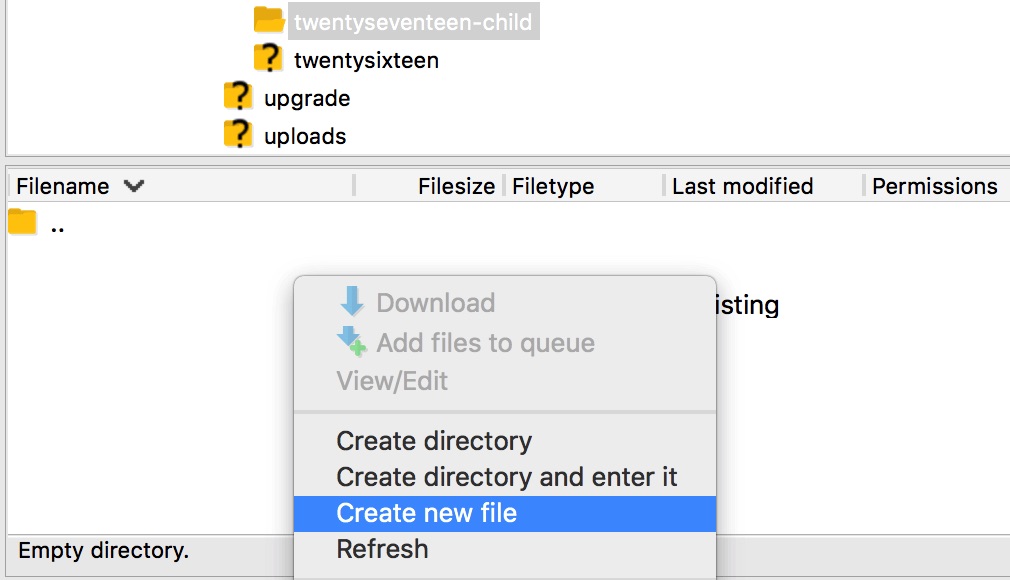
You can name that stylesheet as per your ease i.e. custom-style.css or whatever helps you identify it. Do mention all your custom style code within the created .css file for your child theme.
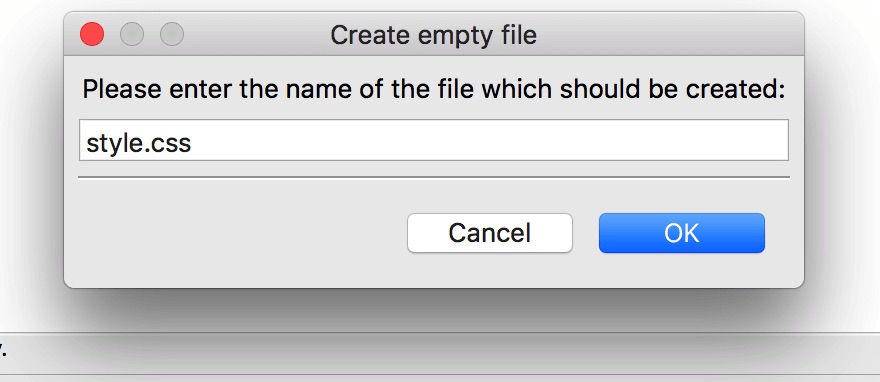
Initially, the stylesheet custom file that you’ve created would be empty, obviously. So, what you need to do is; just append the Theme Description code within that file on top. The code would look something like this-
/*

Theme Name: Twenty Seventeen Child

Theme URI: http://example.com/twenty-seventeen-child/

Description: My Child Theme

Author: Your Name

Author URI: http://example.com

Template: twenty seventeen

Version: 1.0.0

License: GNU General Public License v2 or later

License URI: http://www.gnu.org/licenses/gpl-2.0.html

Tags: child theme, twenty seventeen

*/
You can easily find this within your parent theme files.
Adding Functions
After you’re done with all this, just proceed with referencing your parent theme, create a functions.php file. This file acts as a powerful tool for your theme.
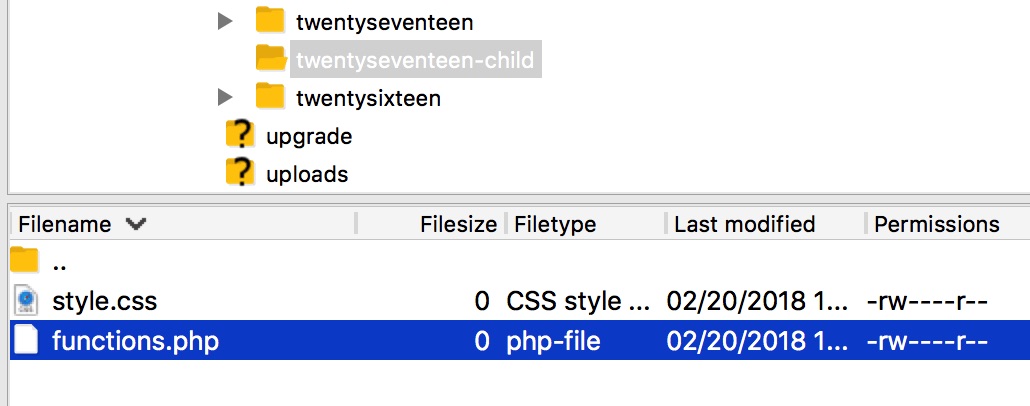
Similarly, as you’ve appended the theme code within your style.css, you are also subjected to add code snippets given below within your functions file.
add_action( 'wp_enqueue_scripts', 'enqueue_parent_styles' );

function enqueue_parent_styles() {

wp_enqueue_style( 'parent-style', get_template_directory_uri() . '/style.css' );

}
That’s it, you are done. Just edit the code if your stylesheet name is different, just save your functions file and hit agree when asked for replacing it with the existing theme version.
There you go, your child theme is now ready for use, all you need to activate it. Just traverse within your dashboard i.e. Appearance > Themes.
You can easily spot your child theme there like this-

Just hit activate, and start customizing at your ease. You might wonder, that your child theme is in no way different from your parent theme. Yes, of course. As you’ve still not customized it.
Keep In Check
Instead of customizing fully on your own, you can also employ plugin support within; one of them is Child Theme Configurator. This plugin can easily identify and override the exact styling attributes that you’re trying to customize on your own.
Additionally, if you want to perform the changes manually you can take help from Diff Checker. This tool would help you in analyzing the code segments manually.
Develop Theme From Custom Theme Developer Frameworks
Custom WooCommerce Theme development can also be performed assisting the developer frameworks designed. Often observed, that developers feel bound over WordPress while developing their website.
That can be an issue with the creative developers who wish to experiment with freehand development and customization within their projects. Whereas, WordPress provides minor customization enability.
If you’re supposed to be a creative mind and want to experiment with out-of-the-box development on WooCommerce; you can easily hop on to framework development referring our WooCommerce Developer Handbook. There are numerous framework platforms available to assist WooCommerce themes, for instance, we are using Oxygen Builder here.
Before Diving Deep Within The Specifics, You Need To Understand The Requirements-
- You are required to have a paid Oxygen Builder plugin
- Additionally, you require WooCommerce addon for Oxygen also
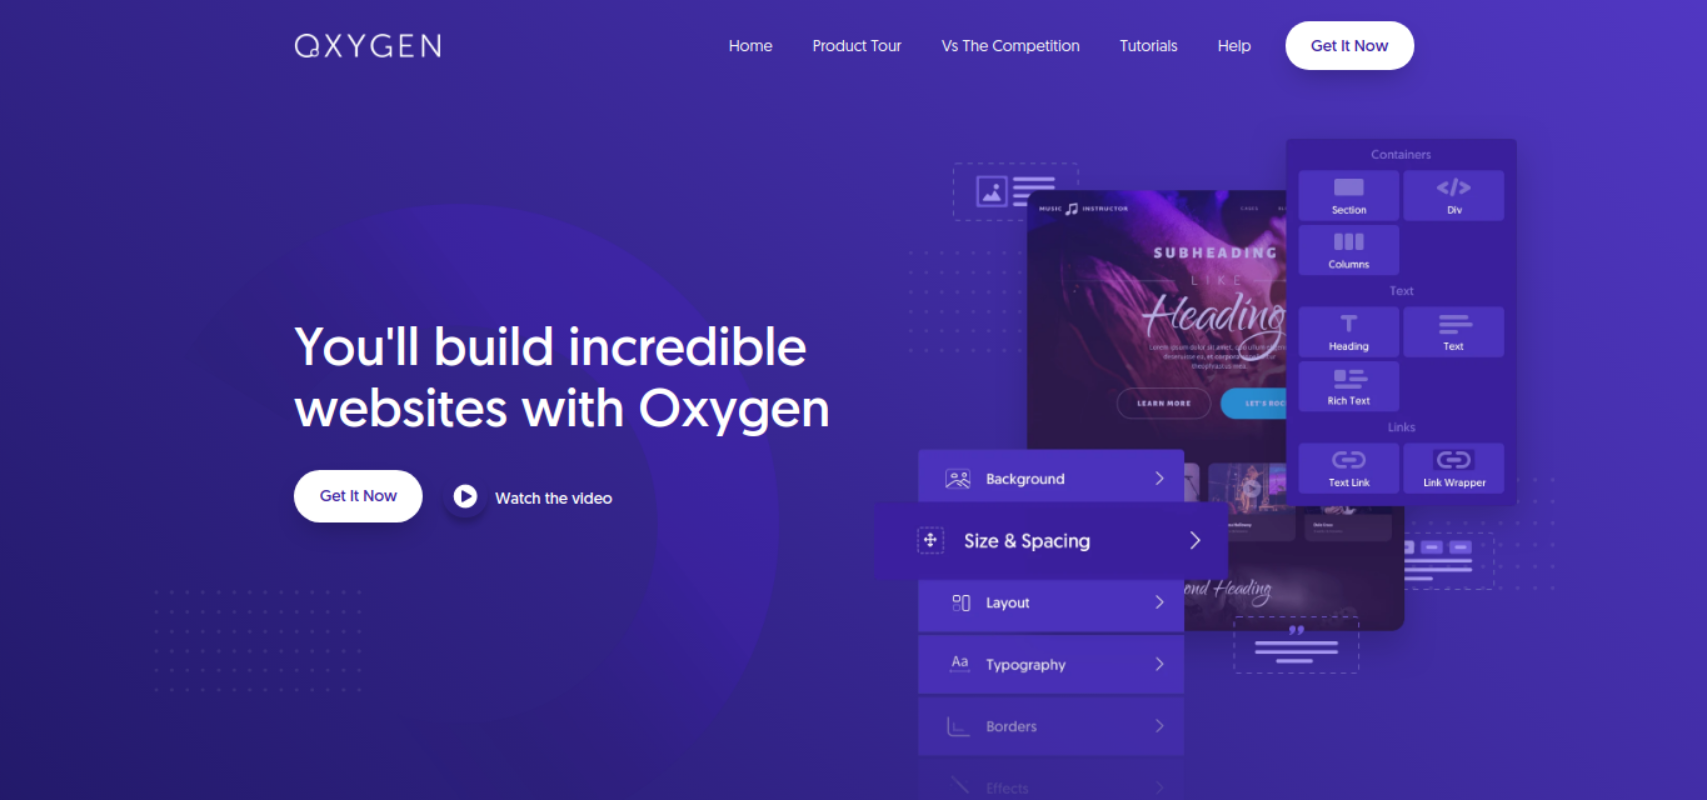
Oxygen wouldn’t provide you the default CSS settings like other theme-builders and traditional themes. You need to develop everything from scratch.
You might think, what a complex structure? Yes, probably. Oxygen aims to provide you the ultimate flexibility in theme development from scratch.
For better practice, follow the documentation, complete the setup, and create basic design pages efficiently using the widgets. Here, you can manually edit every page of your website that too without any dependency.
You can also add product archives, widgets, and create dependent pages within your website, all that manually.
To summarize, it can be said that oxygen actually provides development from scratch. You can refer the editing and development process through the GIF given below-
Develop Custom Theme From Scratch
Are you planning to try your hands in out of the way custom themes development on your WooCommerce existing theme?
Don’t worry, you can do that, our WooCommerce Developer Handbook guides you in that, just feel free.
Make up your mind beforehand, as this definitely requires a strong coding proficiency base, as well understanding of web development.
Get Started With Simple Steps
- In order to assist your initial development with your custom theme, you just require a starter theme, for this, we have used Underscores as an example.
- Just create your preferred theme with a distinct name and provide further advanced information like author name, website URL, theme description, etc.
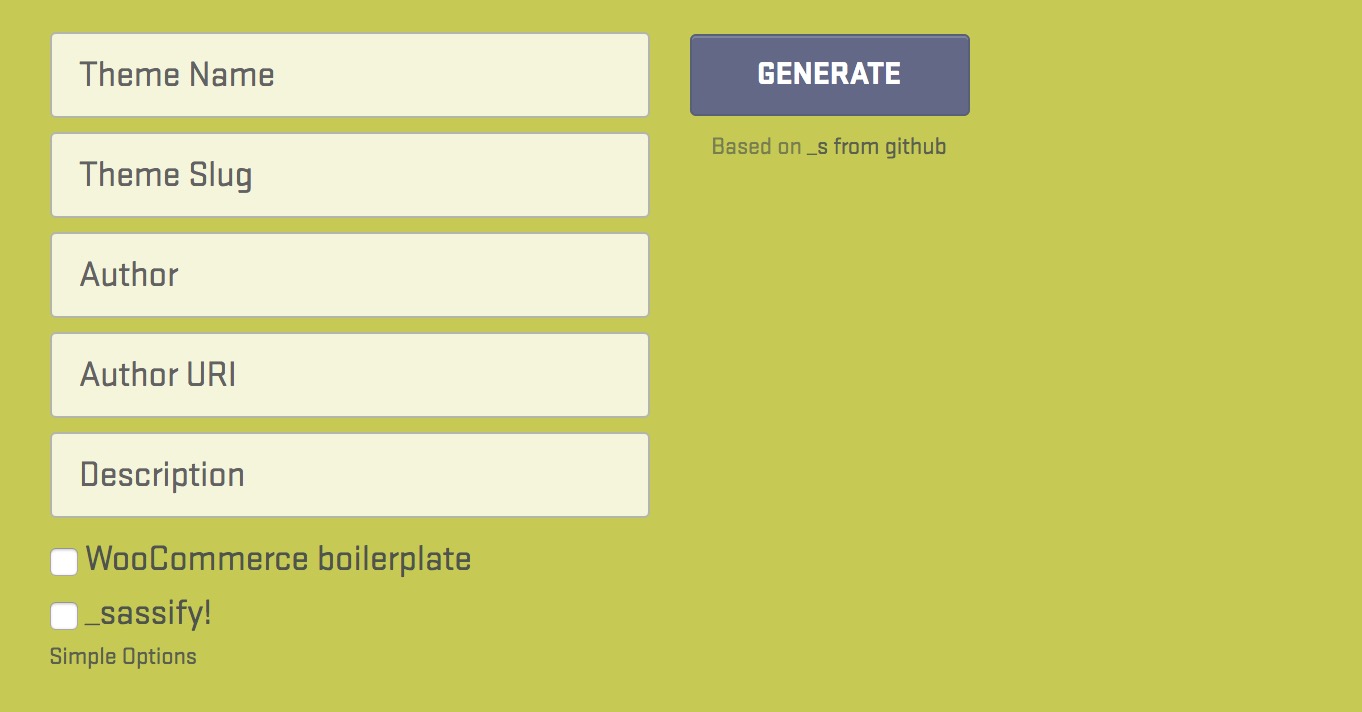
- After adding the initial description, you can download a .zip file and install it within your local WordPress environment as a starter theme. Now, you can easily display basic starter theme after activating it manually.
Major Considerations Before Initiating Development
Before initiating the customization, you need to be aware that the WordPress system employs multiple page types and template tags depending on your requirement to publish and functions to employ.
Majorly, there are seven-page categories and about five template tags listed in WordPress development structure, refer below-
| WordPress Page Types | WordPress Template Tags |
|
|
If keep in practice, that means you can simply add specific elements within your primary template files, like front-page.php or index.php that too with just a tag functionality. You can employ these page groups as per your requirements to design your store on WooCommerce by accessing the WordPress dashboard.
These template tags are rather PHP functions that you can use to generate and fetch data dynamically. They help you enable and gather template files within your existing theme.
Since the index.php file, the loop segment, sidebar, coding stylesheet, etc. are core elements within a theme, you need to be careful before customizing the sections. If confused or in doubt, do refer to the WordPress Theme Handbook thoroughly.
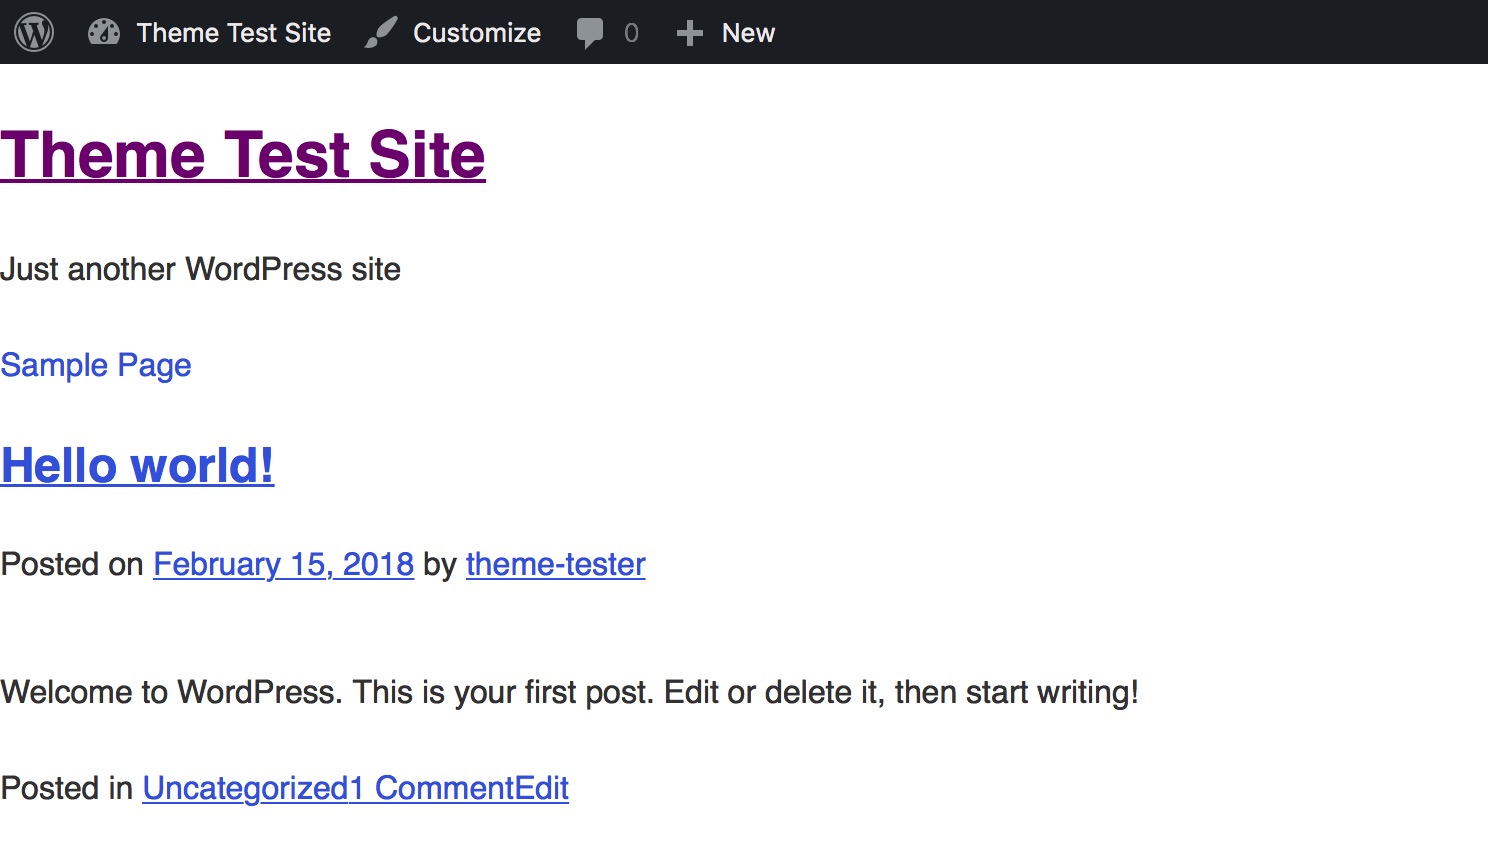
Your starter theme demo page would look somewhat like this-
Need Your Mention
Although themes are said to be the cosmetic element of a website, if you wish to add a bit functionality, that would be rewarding. You can easily add functionality within your theme just by employing hooks.
Hooks, yes heard that right; you can add on functionality within your custom theme assisting small and concise hooks. But, it is fully optional.
After completing the customization, you can now test your theme thoroughly and can export your theme file within the Website directory via /wp-content/themes/. Just convert your custom theme-related files within a .zip file and there you go.
Now, you can easily export that theme over any website on WordPress.
Do refer the GIF below for better understanding related to custom theme installation and activation-
You can also submit your custom theme at WordPress Theme Directory adhering to the regulations there.
Developing a custom theme might sound complex initially, but not in fact. You can easily segment the overall development and learn more by referring to the Codex Documentation with ease.
Check Out 35 Interactive WooCommerce Themes
1.3 Feature Updation Services for Website
As you have already developed your WooCommerce store with an attractive theme, now what?
Features.
Yes! Features are necessities. As the themes can only help you with the design and presentation but cannot load your website with power-packed features. Do not stress, WordPress development is there to assist you with its feature segment i.e. Plugins.
Just choose, install, and activate to go ga-ga over the features. Let me explain more.
WordPress Plugin Store
WooCommerce website requires multiple features that can easily be achieved without juggling the complex code structures through plugins.
Similar to the WordPress Theme Directory, there is WordPress’ Plugin Store also. You can choose among multiple plugins available there as per your requirement.
Plugin installation steps are simpler and similar to the theme installation; just make sure about your requirements and choose the appropriate plugin accordingly. For better understanding do follow the plugin documentation steps and make use of them efficiently.
WooCommerce Custom Feature Resources
Plugins are a big part of WordPress; which is a versatile and user-friendly platform. They enable any user to quickly add new code and functionality to their site with just the click of a button.
However, what if you don’t want to settle for the existing plugins, and make your own instead?
Hurray! you can do that, just follow our WooCommerce Developer Handbook. Let’s proceed.
Create Hooks
You can also employ hooks within your WooCommerce website. Hooks are nothing but the simpler, smaller, and concise code snippets that are inserted within your WooCommerce template files.
Hooks are available in two versions i.e.
- actions (that add on a new functionality), and
- filters (that modify existing functionality).
You can perform multiple PHP actions over numerous areas within your WooCommerce store using hooks. You can easily add style, display information using multiple classes or methods, etc. with hooks.
Let’s Take A Look At Some Of The Most Common Hooks And What They Can Be Used For:
- wp_head() These are the hooks that are added to the <head> element in the
header.phpas well as enable styles, scripts, and the other information that executes as soon as the site loads. - wp_footer() They are always added to
footer.phpjust before the </body> tag. This hook provides no parameters. You use this hook by having your function echo output to the browser, or by having it perform background tasks. - wp_meta() These are the hooks that usually appear within
sidebar.php, either to include additional scripts or additional CSS stylings. - comment_form() Such hooks are always to be added within the
comments.phpdirectly at the file’s closing </div> tag to display comment-based data.
Hooks would already be included in your WordPress theme. However, we still recommend you visit the Hooks Database to sneak-peek all available hooks as well as learn more about them.
Other than that you can also employ Simply Show Hooks within your website. This plugin does nothing special just enables you to easily access your plugin from the codex database and display them inline within your dashboard. This plugin might disrupt the display of your dashboard; you can employ it if you like (optional).
Custom Plugins Development From Scratch
Fortunately, creating a custom plugin is not a complicated process you might be worried about. With a little time and effort, almost any user can create a plugin from scratch. As long as you understand how plugins hook into WordPress’s core, building your own plugin can be a fun and challenging project.
Before Initiating The Custom Plugin Development, Make Sure You Have Considerably Taken Care Of The Following Things-
- Make sure you have given a unique, proper name to your custom plugin following the proper naming convention. Add a name that is easy to identify and contain a distinct prefix for your variables and functions.
- Make sure you have strategically planned to safeguard your plugin, follow secure development practices.
- Develop a rough plan about the structure of your plugin in advance.
- Also, make sure you are familiar with and are adhering to the WordPress coding standards.
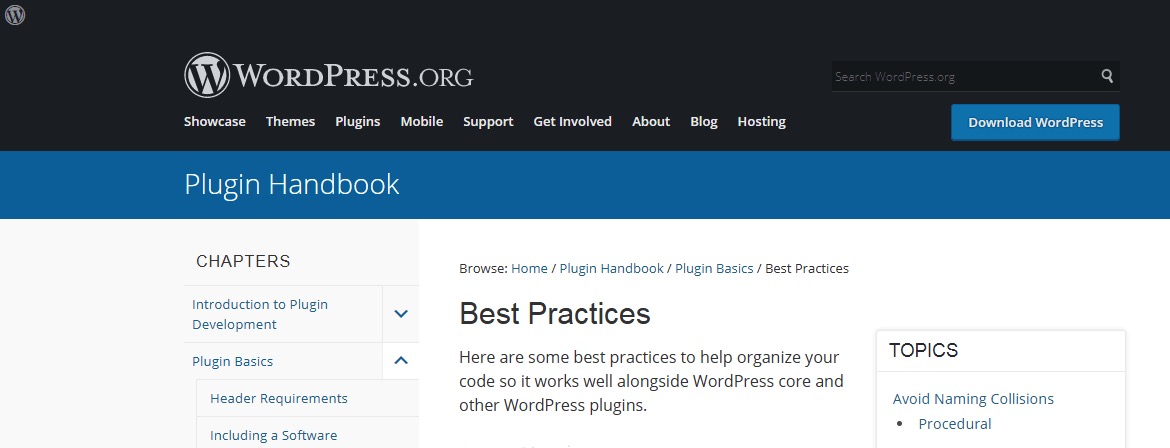
Additionally, you can also review the WordPress Plugin Handbook for best practices. These guidelines would assist you in developing a solid foundation for your plugin as well as also ensure your plugin’s compatibility with other plugins and themes.
After referring to the guidelines, you are all ready to test your hands within the custom development of your plugin. Let’s start then.
Initially setup a staging website, in case you require a rollback or a backup making use of WP Staging. The major benefit of setting up a staging site lies in testing your custom plugin’s beta version conveniently without even disturbing the actual environment.
The very next step involves creating files within the specified plugin folder (i.e. MyFirstPlugin) at /wp-content/plugins/. After that create a plugin file related (i.e. my-first-plugin.php) and append the plugin description on top of that file, the description would be similar to the code below-.
<?php

/**

* Plugin Name: My First Plugin

* Plugin URI: https://www.mywebsite.com/

* Description: The first plugin I have created.

* Version: 1.0

* Author: Your Name

* Author URI: http://yourwebsite.com/

**/
This code is nothing just the meta-information regarding your plugin that WordPress would display alongside your plugin.
Now, your plugin space has been allotted on WordPress; you can easily cross-check that just traversing to Dashboard > Plugins, where you can easily spot your plugin.
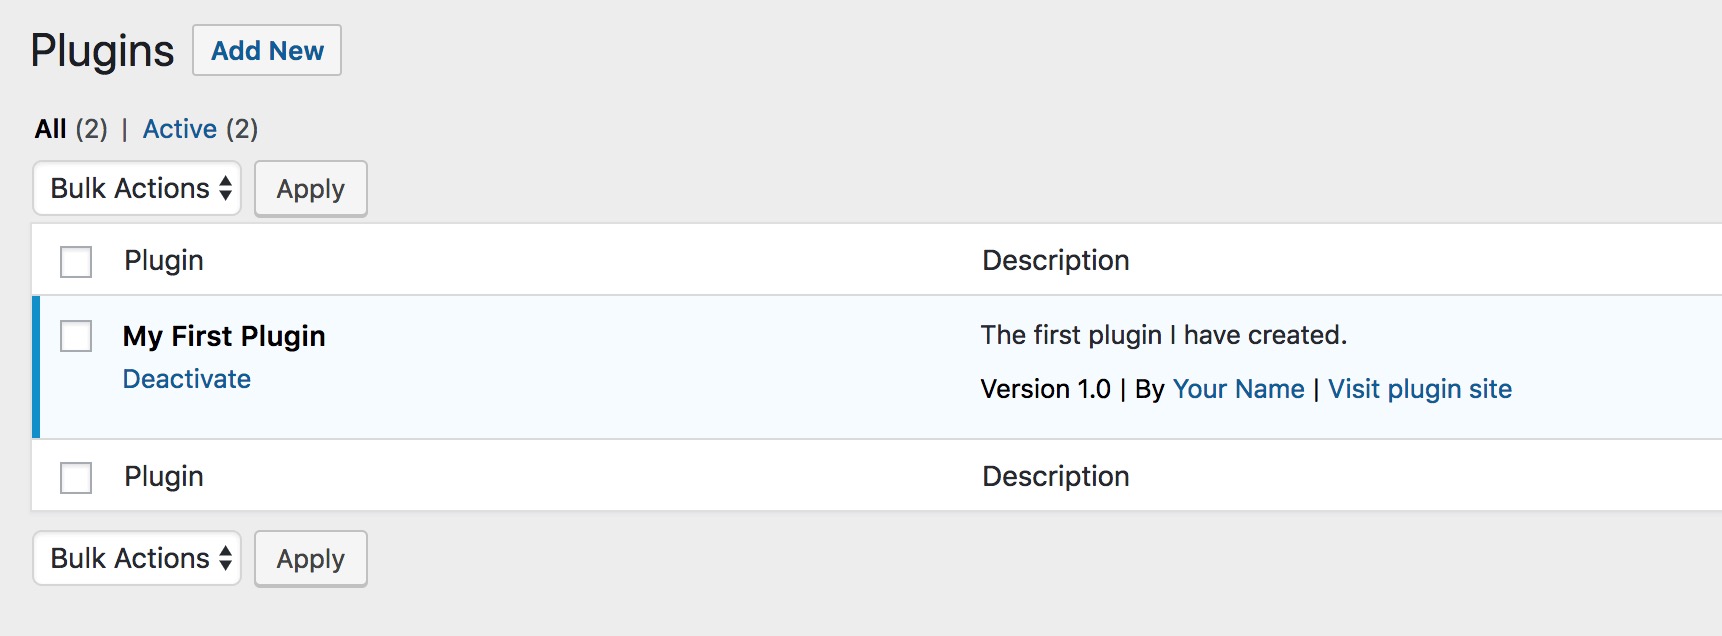
Yes, now you are done with developing your custom plugin. But as you haven’t added any functionality to your plugin; so it cannot perform anything; still can be installed and activated.
Adding Function
It is the time where you need to add functionality (hooks) within your custom plugin as per your ease. For that just hit your plugin function file (i.e. my-first-plugin.php) and start adding the functionality within, using a text editor. Functionality code fully depends on your requirement and specifications; ideally, function code for the plugin would be like-
function dh_no_wordpress_errors(){

return 'Something went wrong!';

}

add_filter( 'login_errors', 'dh_no_wordpress_erors' );
After successfully adding the functionality just save and start testing your plugin. Perform alterations if required within the respective function file, until you’re sure that the plugin is working fine.
Now, as you’ve completed your plugin development and testing, what’s next?
Just install your plugin and activate it, and utilize its efficacies. The GIF given below would guide you in that-
You can also share the respective plugin on WordPress Plugin Directory for public use. WordPress plugin directory adheres to certain Restrictions, review that beforehand. Other than that you can also share your plugin over GitHub, it requires a repository for your plugin to upload, do refer to the official documentation beforehand.
Till, here you are all done with your initial development of a WooCommerce store. Let’s proceed further with the steps.
Step: 2 Test And Experiment With A Free Hand
Once you’re all done with developing your theme and plugin, you should test your work as well as experiment with possible fault cases. You can smartly plan your testing strategy to perform a rough Q/A (Qualitative/Analysis) within your WooCommerce website; to assure the expected outcomes.
2.1 User Spaces
User Views And Permissions
Experimenting with user-space permissions can be way more functional Q/A for your newly generated WooCommerce store. You can easily impersonate your actual role manually in order to demo the view and functionality in check.
You can also employ User Switching to efficiently switch user roles. Employ the plugin and test your site as a customer, as a contributor, etc. for any possible role being an Admin.
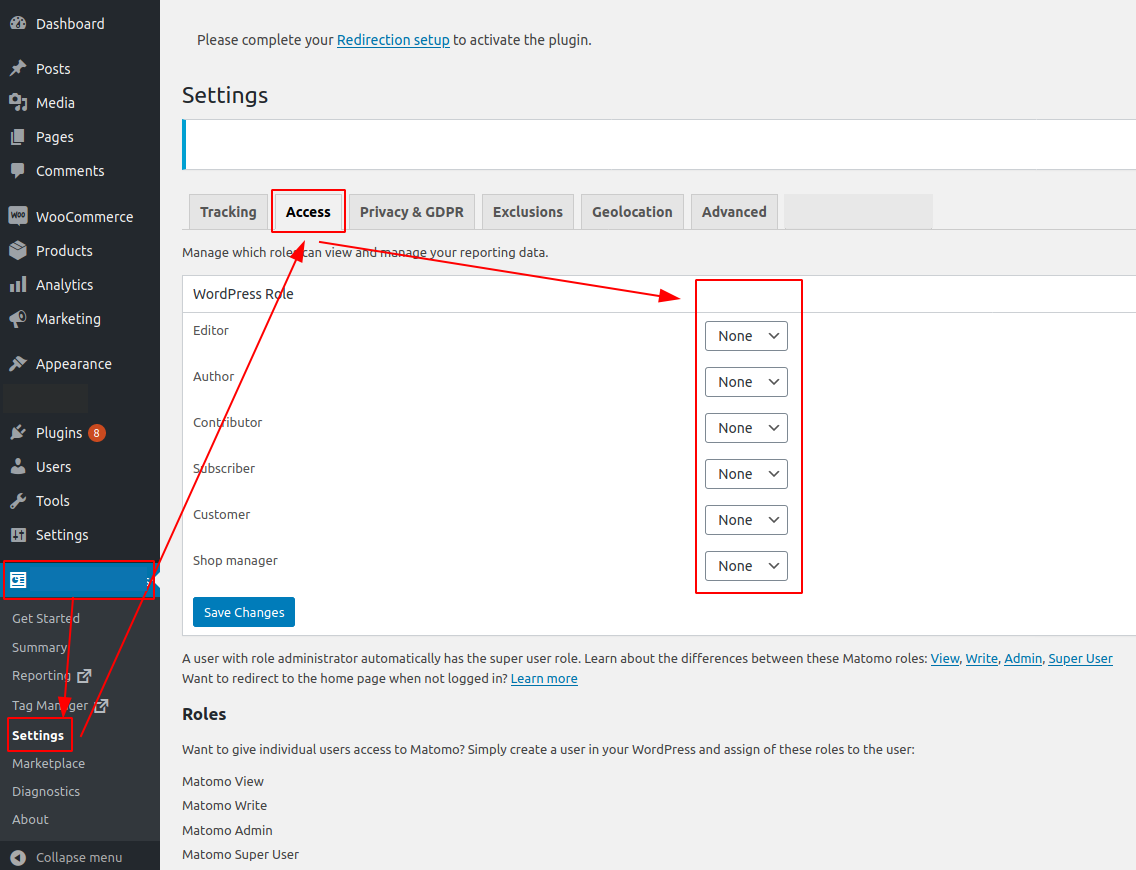
WooCommerce store owners can easily test; user permissions for shop managers, payment processing state as a customer, test your subscriber management rights, track your affiliate permissions, etc. using the plugin.
Our WooCommerce Developer Handbook states, that user-space permission Q/A helps developers to evaluate their decisions and user work-flows in an easy manner.
2.2 Payment Gateway Testing
WooCommerce business’ sole purpose lies in transactions; that’s where payment gateway comes into play. No matter, if your WooCommerce store is fully functional and working effectively, you cannot win the battle until your transactions too are effective.
Yes, keeping track of your payment channels is an exceptionally outstanding approach to impromptu your store’s functionality. You can even employ subscription, affiliate, return, refund, etc. like transactions demonstration intact to maintain the payment flow.
Till here, you’re all done with your basic testing and analysis, it’s time to proceed with the very next step.
Step: 3 Upgrade Your WooCommerce Store To Pace The Fuss
Updations are all subject to research and requirement, running a typical WooCommerce store and a fully functional and advanced featured adhered store are two faces of a coin. To pace up the growth marathon, not just you, even your WooCommerce store needs to be updated and functional.
We’ve listed a few popular feature upgrades for your WooCommerce store, if you prefer you can employ them as per your ease.
3.1 WooCommerce Store Functionality Plugins
Website Experience Booster
Website Translator
Don’t let your WooCommerce store be a run of the mill when stepping in to expand your brand reach worldwide. No matter how functional your website is; if you lack a basic language element, that’s where you lose.
Don’t let your competitors reach jade par; switch to Loco Translate. This is an outstanding in-browser editor for WordPress translation files integrating with multiple different translating service providers like Google API, DeepL, etc.
Shopping Experience Booster
Currency Converter
Your WooCommerce store might land a dependency when you’re dealing with customers out of your local boundaries. That’s a silent indication for you to incorporate Multi-Currency for WooCommerce.
Yes, there might be numerous customers who face issues in currency conversions; make it user-friendly just by incorporating the plugin. This plugin would help you perform easy conversions while browsing products at the front-end.
Return Management
In order to streamline your purchase processing; your WooCommerce store requires a return management system. If you require one, better opt RMA For WooCommerce from WP Swings.

This is high rated RMA (Return Merchandise Authorization) plugin on entire WordPress plugin directory accoring to our WooCommerce Developer Handbook; you can easily create your store’s very own return management system incorporating it.
Additionally, this plugin helps you save time lost in complaint resolutions, call hurdles, and dispute management that you’re losing earlier.
Partial COD
Are you fed up with fake COD (Cash On Delivery) orders on your WooCommerce store?
If yes, then do not hesitate to employ the WooCommerce Partial COD plugin by WP Swings, which helps you restrict fake COD orders with ease.
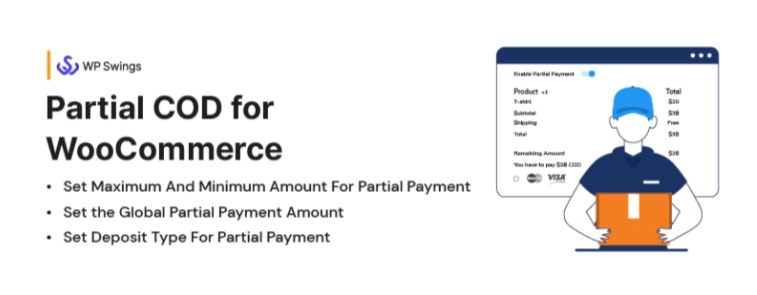
You can easily drive potential orders even on COD, just by charging a partial amount at the time of purchase, thereby driving authentic purchase via COD.
Creative Feature Addons
Coupon Code
Coupon Referral Codes are engaging mediums to recapture your lost and inactive customers. If you’re also facing customer losses and inactive RFM (Recency Frequency Monetary) backed by the pandemic effect, do incorporate the Referral Program plugin.

This plugin helps store owners to dynamically generate coupon codes for their customers based on their RFM ratings and redirect their activity to your store.
Loyalty Programs Or Offers
Loyalty programs are the best medium to attract customers, you can easily employ the WooCommerce Points and Rewards plugin within your store.

This plugin helps you engage your customers by offering rewards followed by the shopping activities like signup, purchase, referral, etc. This plugin thereby helps you turn your customers into your loyal fans.
Gift Cards
Creating and selling gift cards as products within your WooCommerce store is the new fad. You can also go around with the fad just by employing the Ultimate Gift Cards plugin within your store’s core functionality.

You can make use of this plugin to create, sell, and manage your gift cards that too with ease. Customers can buy, recharge and redeem their gift cards by accessing the website only.
3.2 Learn About WooCommerce Website Feature Updation
CRM Integration
Your ordinary WooCommerce store can lure the benefits of the Rest API just by employing the Hubspot For WooCommerce plugin from WP Swings available for free.
Yes, heard that right, for free.
This plugin thereby enhances flexibility in managing your loads of customer data and order history; streamlining all without even spending a penny that too on HubSpot.

Easy data analysis, smart listing, one-click data synchronization, comprehensive data reporting, and automating the workflows are appealing features of this plugin.
WooCommerce businesses with large networks can easily manage their data and information within a safe environment.
Marketplace Integration
You have created your WooCommerce store to join the market league, but if your desires aren’t mere, you can upgrade your store within a marketplace too. This feature would thereby enhance the functionality of your store, allowing different vendors and retailers to join the team.
You can easily create your own marketplace just by employing the WCFM Marketplace and there you go with your own multi-vendor supporting store on WooCommerce, similarly eBay, Etsy, Airbnb, etc.
This plugin also provides real-time vendor support through chats and vendor-specific application support too, for free.
Social Integration
The social presence of your WooCommerce store can help you reach more and more target audience boards inside and outside too with ease. If you’re still not pacing the flow incorporating social strategy within your marketing plan, definitely you’re losing a lot.
You can opt for Sassy Social Share, to speed up your social reach and influence. This plugin lets your WooCommerce website share your curated content over multiple social platforms as well as on the bookmarking services.
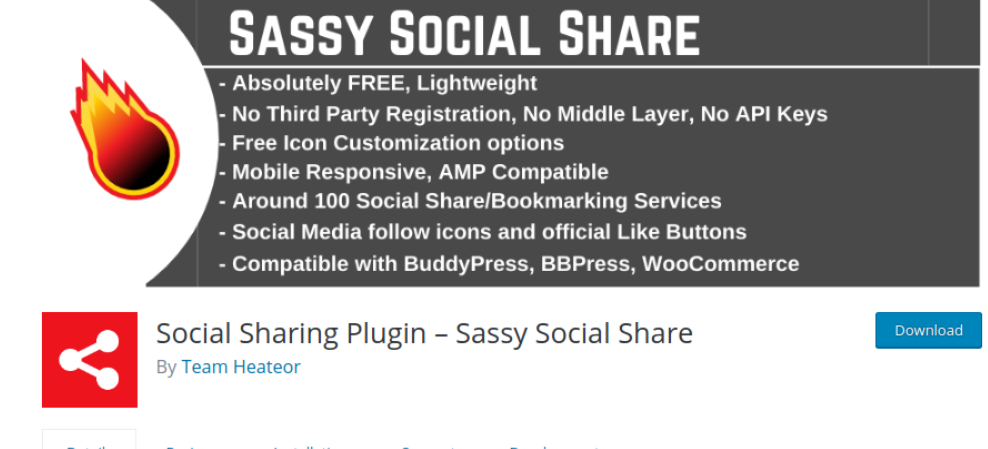
Not just with social sharing, this plugin also provides you with the simplest and the smoothest social sharing feel that goes above the tip of the iceberg with outstanding vectors.
3.2 Rest API Integration
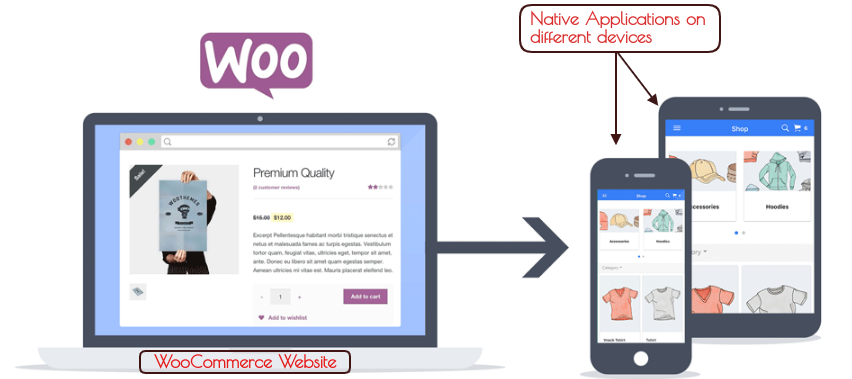
Native Application Support
WooCommerce based Rest API functionality is all packed up with features that easily provide a freehand for developers to experiment with multiple native applications for their website.
Native application too with a free hand?
Sounds interesting?
Yes, this feature acts as an asset for the businesses as well as for the developers. Developers can easily experiment with their creativity on WooCommerce and can freely develop custom native applications.
Third-Party Data Access
Your ordinary WooCommerce store can also freely access data from different third-party data stores with ease just by employing the Rest API within your website’s core. Earlier, custom API requirements were underlying for such requirements.
For Rest API integration, make sure your website content is all independent of programming languages and the environment says our WooCommerce Developer Handbook. In other words, make your website more dynamic and interactive to make it flexible with interactions from different platforms.
Multisite Interoperability
The most outstanding feature of Rest API for WooCommerce is interoperability within different sites placed within completely different platforms.
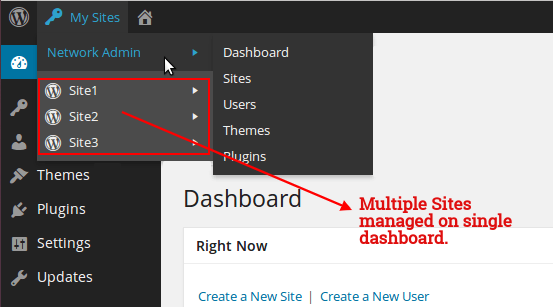
For example, if your business network is wide and owns multiple website support over different platforms. Then you can easily access your data from any other websites through your WooCommerce dashboard only.
How?
For this you just required a Rest API integration and access directly using a JSON request, that’s it. You can even leverage no‑code AI tools to help generate or test API calls, making integrations faster for non‑coders
You can now, finally proceed with the last, but not the least step within our WooCommerce Developer Handbook.
Step: 4 Fix The Adverse
4.1 SEO Issues
Speed
Your WooCommerce website can readily create an issue if it has a load time of 3-6 seconds or more. Slow responding WooCommerce stores can also act as booster jacks for bounce rates.
Therefore, make sure you have optimized your website for aspects such as media optimization, script optimization, etc., monitoring all speed tracking metrics.
On-Page Issues
Your WooCommerce website might also face on-page issues that can become a hurdle within your successful SEO Strategy. Improper typography, missing tags, missing image alt’s, misspelled words, missing meta, etc are on-page issues.
Such on-page issues might become hurdles for expanding your reach and crawl over search engines. Make sure you optimize your WooCommerce site beforehand keeping track of all mishaps.
Optimization Requirements
Major optimization requirements for your typical WooCommerce website underline for media elements available, scripts, additional attachments, etc.
If your WooCommerce website is packed up with high quality and weighted media elements like images, infographics, videos, GIF’s, etc. then make sure they are compressed and restored to avoid extra burden over the website processing.
Similarly, the script sections, other attachments (pdf, doc, etc. if present), videos all need to be compressed and optimized beforehand. This optimization miraculously helps you improve load time says our WooCommerce Developer Handbook.
Redirection Issues
Your WooCommerce website redirection links should be updated time to time maintaining the website data flow. Common reasons for redirection include the section under development or updating dependencies.
You can easily redirect your website pages using 301 redirection rather for more ease, you can also employ the Redirection plugin from the WordPress.org plugin store. This plugin thereby acts as your website’s redirection manager and keeps track of 404 tidying s up the loose ends within your WooCommerce site.
4.2 Rest API Dependencies
Data Sharing
Employing Rest API within your WooCommerce store core functionality adds data-sharing features over multiple platforms; that’s true, but that isn’t the entire story. This data sharing feature also enables third-party applications or websites to easily access your data too without your permission.
You can employ a plugin Disable WP Rest API to restrict unauthorized data share from your WooCommerce store. Also, make sure the data sharing guidelines before integrating the third-party websites or the applications on Rest API.
Compatibility
Device compatibility can also become a serious issue while employing Rest API functionality within your WooCommerce store. There are still many devices that are not compatible with JavaScript; which can become an exception.
Although such devices are getting rare. But, if you’re planning to develop your WooCommerce store’s native application for such devices your Rest API features won’t work.
Accessibility
Browser and Platform accessibility can become serious issues while employing Rest API functionality within your WooCommerce store. Rest API works on JSON parameters; that’s so devices that do not support Java are likely to face visual impairment issues. In other words, such devices may result in different visuals for your website or application on Rest API.
Other than that, if your customer turn off the browser JavaScript or disable it; then there’s a possibility that Rest API functionality might not work as stated in our WooCommerce Developer Handbook.
4.3 WooCommerce Website Backup
Cloning
When you want to perform debugging over your existing site without losing a bit of data then the best option involves cloning your site. Cloning your existing WooCommerce website indirectly helps you isolate yourself from your existing problem while impacting the original site.
You can easily employ WP Migrate DB, to migrate your existing website’s database quickly without even affecting your local and production WooCommerce website.
Backup Tools
WP BackItUp helps you create a backup of almost every setting, post, comment, revision, plugin, theme, all media files, and also helps you upload that using a single click.
You might think, what is the actual use of this plugin?
Very obvious, let’s clarify (WooCommerce Developer Handbook). This plugin is actually designed aiming to keep your WooCommerce website protected against hack attempts that result in data loss, malware attacks that drive corrupt file issues, minimize host outages, and most importantly to safeguards you from your own mishaps.
Using and configuring WP BackItUp is quite easy as well as requiring no advanced knowledge of WordPress.
4.4 Employ Debug Tools
WP_DEBUG
It is a permanent global variable for initiating the debug processings in the entire WordPress. By default, this variable is set to be false in wp-config.php. In order to start or initiate the debugging process, you need to modify the WP_DEBUG credentials from the wp-config.php file from the development copies of WordPress.
Syntax: Enable Debugging define( 'WP_DEBUG', true ); and Disable Debugging define( 'WP_DEBUG', false );
Taking Help from a Staging Website
If your WooCommerce website requires duplicating the installation to a sub-directory on the main site, do not worry. Just install WP Staging to create a clone of your website into a sub-folder or subdomain of your main WordPress installation.
This plugin can clone your website even if it runs on a weak shared hosting server and help you to prevent the installation of untested plugin updates.
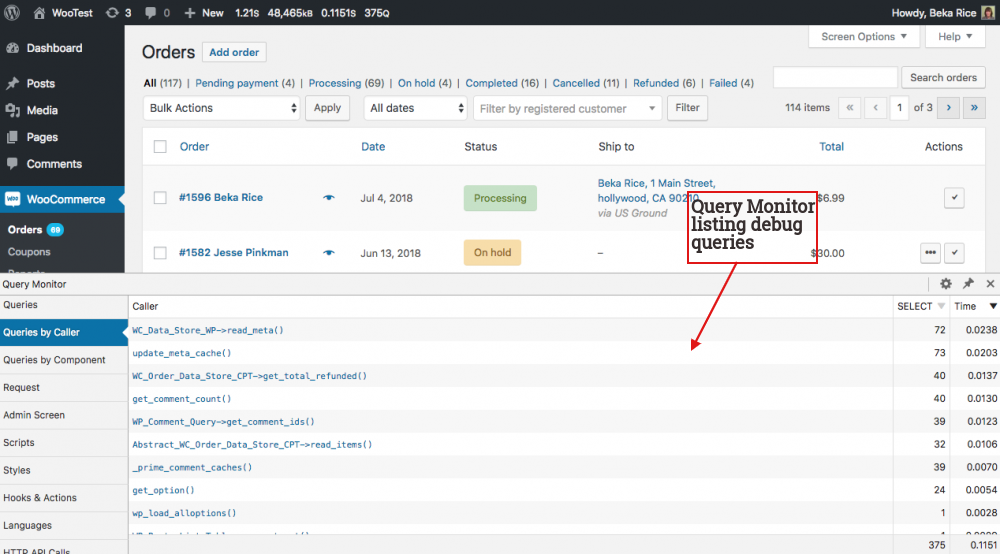
Query Monitor
Query Monitor is the developer panel tool that helps to display the exact execution time spent queries running over your WooCommerce website as well as for the scripts and the assets loaded.
You can easily track what is actually happening within your website while working on a webpage. Such monitoring can assist you in your investigation.
For better understanding, you can check out the screen cast below-
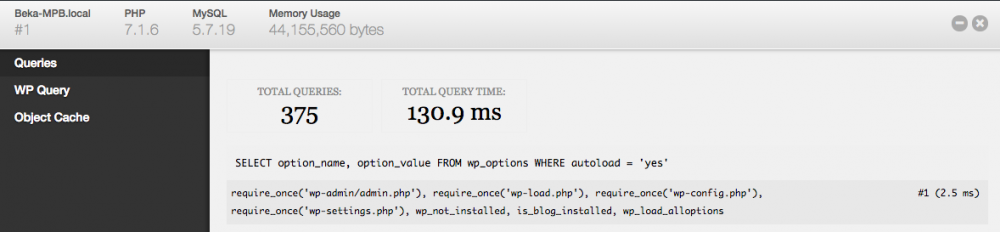
Debug Bar
This plugin is a very effective tool within your WordPress admin bar. Debug Bar enables query display, cache, and other information easily. If you are a WooCommerce developer into testing and developing a website, then it is a must-add on within your development resources.
It majorly works on two available options i.e. WP_DEBUG and SAVEQUERIES. To access the features, you need to modify the credentials of the following options in wp-confing.php.
When you enable WP_DEBUG, It starts tracking the PHP-based warning and notices with ease.
When you enable the SAVEQUERIES, it starts tracking the related MySQL queries and display.
You can also check out the screenshot below to have a rough idea about a Debug Bar-
Finally…
Developing a WooCommerce store from scratch is no small feat, it requires proper planning and resource strategy. This WooCommerce Developer Handbook is scripted with a thought to streamline the development processes along with the resources.
The major goal lies behind the handbook is assisting developers to get started with a new project from scratch, test an existing plugin or theme, upgrade or modify the features, or troubleshoot on an existing WooCommerce store.
Does this resource in form of WooCommerce Developer Handbook help you? If yes….Please, let us know in the comments section below.


Keep this good work more up!
Hey Ammy,
Thank You So Much….
I value the time and work you invested in reading and using our blog. This is fantastic beyond words. As we frequently publish articles like this, kindly stay tuned.
Thanks for taking the time to share this, i feel strongly about it and i like to learn more on this topic.It’s extremely helpful for me.
Thank you so much for taking the time to read this article.
We frequently share blogs and articles on such topics; you can refer to our blog from time to time, and if you want to have more realistic dialogues and discussions, please join us on our MWB Forum.